August 19, 2022
Tinka Robev
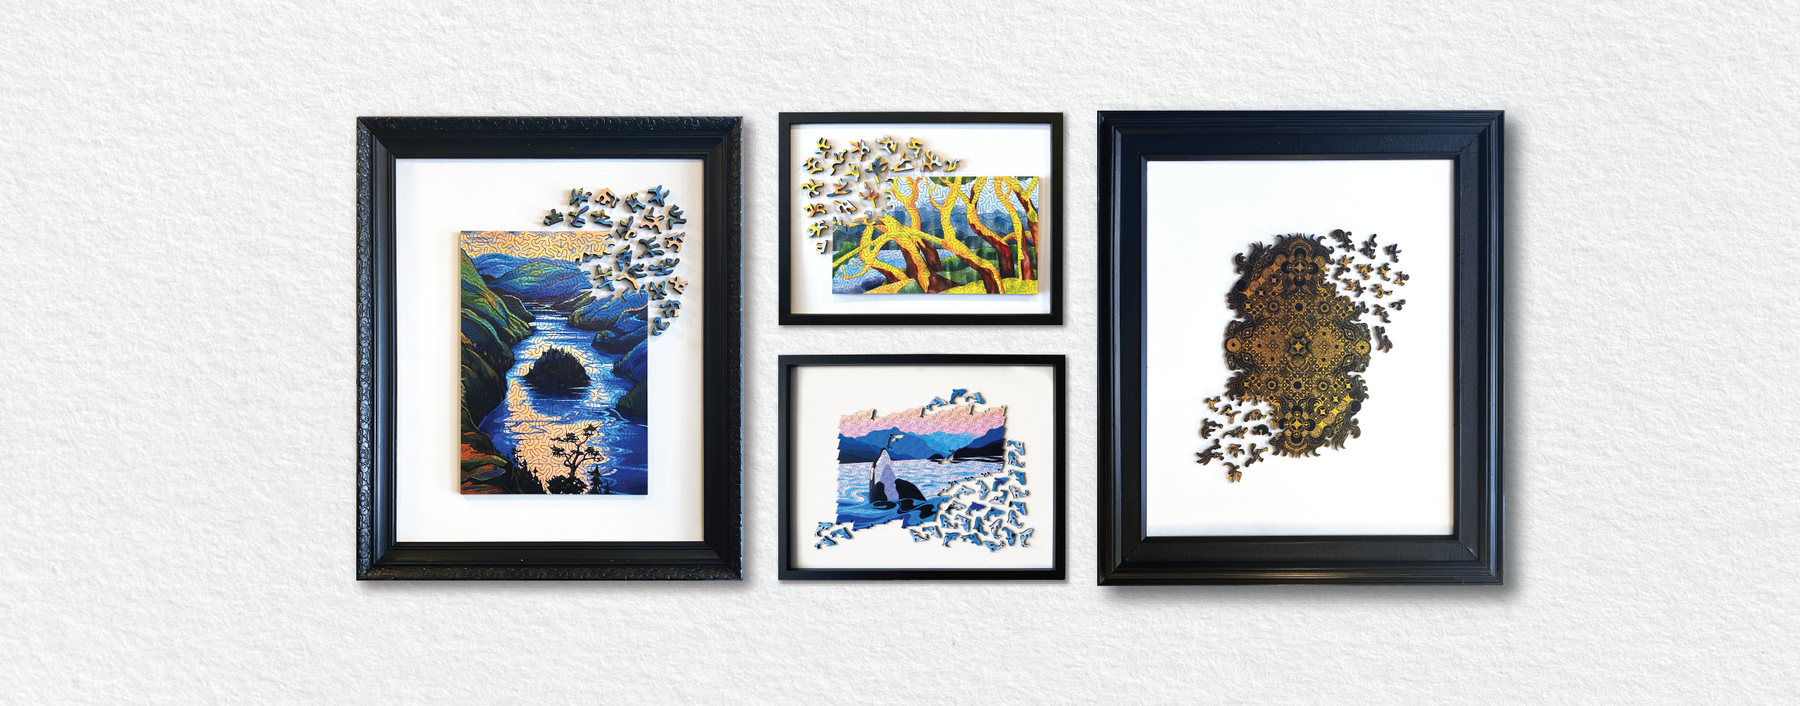
Puzzle Framing Instructions
- Find a frame you like (we got ours from local thrift stores) that’s quite a bit larger than your puzzle - your call on size, but we find the puzzles with the most white space around them look best. Carefully recycle the glass or set it aside for something else.
- Optional - paint your frame using regular wall paint (we went with satin black).
- Measure the insert/backing of your frame (or cut a piece of cardboard to size if the backing it came with isn’t rigid).
- Cut a piece of white poster board to the size you just measured (we got ours from the local art store) and use a light layer of spray adhesive to mount it to the backing.
- Secure the backing into the frame - use hot glue if the frame doesn’t have those little mounting tabs already built in.
- Flip it over and you’re ready to add your puzzle!
- Figure out which part of the puzzle you want to “explode” and set those pieces aside in no particular order.
- Flip the rest of the completed puzzle over so you’re looking at the black back and make sure it’s pressed together so there are no big gaps between the pieces.
- Apply a careful layer of standard white or wood glue (drizzle and then smooth out with a brush) - better not to risk drips, so test the strength of the bond after it dries and repeat a few times if necessary.
- Once the main part of your puzzle is thoroughly stuck together, flip it over and place it in the center of your frame. When you’re happy with the position, flip it back over and use a generous amount of hot glue to stick it in place as straight as you can. Best to have a second pair of eyes for this!
- Now the fun part! Without gluing them yet, place your extra pieces in a whimsical “explosion” coming out of your puzzle. I tended to try and find ways that the pieces could interact with their neighbours, like a spike from one piece fitting in the crevice of another. I also tried to distribute the different colours in the pieces evenly throughout the explosion. You can also experiment with leaving more or less space between the pieces (for a tighter or more expansive look), but best to have that be consistent one way or the other. Play around with these for a while until you find an arrangement you’re happy with, and consider taking a photo for reference while you’re gluing (I didn’t do this but in retrospect, it would have been a great idea).
- Choose a starting point (usually closest to the main puzzle for me) and pick up one piece at a time, remembering how it was positioned in the gap you’re leaving behind. Apply a very small glob of hot glue to the bottom of the piece, and spread it along some of the squiggles, adding a little more glue as you go. Avoid getting glue between the squiggles and try to keep it away from the very very edges of the piece (a challenge, I know). I perfected a little spiral technique when lifting the glue gun to avoid leaving strings, but they can be removed later so don’t panic. Before the glue has a chance to dry, place it back down into its gap in the piece explosion. Repeat with all pieces.
- Use tweezers to gently remove glue strings and any little globs from the edges of your pieces. I found this process to be less messy once the hot glue was dry.
- Good luck, and please send us a photo of your framed puzzle when your’e done!